

Contentful and NextJS: Finding A CMS Part 2
In today's article, Contentful steps up to the plate in a bid for my choice of CMS. This is part of my Finding A CMS series.

I am passionate about creation, be it code or written. I believe that knowledge should be shared and that if we all gave a little bit of our time to helping the next person the world would be a better place.
"Knowledge not shared is knowledge wasted"
In my search for a CMS, today I take a look at Contentful
What is Contentful?
Contentful describes itself as the API first content management system. It makes use of what it calls Spaces - a sort of hub for your project and its content. With it, you can create your models and relationships between them if you so choose.
In addition to managing your content, it offers additions to your Contentful space that streamline working with your content.
Contentful's interface is very nice to look at and work in.
Here is what they say:
Launch faster with a modern content platform
It’s the easiest, fastest way to manage content: Integrate your tools. Publish across channels. Unblock your team with our industry-leading app framework.
HOUSEKEEPING
Again, this is a proof of concept article. I am not explaining every single thing - this is also not a beginner walkthrough. I will gladly explain further if you ask me to.
Also, I did not show screenshots of the pulled data rendered in the Next app, you have already seen those. There is no point in showing them again. Sanity and NextJS
This time we are going to get everything in Contentful ready before we touch out Next app.
Setup Contentful
Head over to Contentful and create your account or login.
After you sign up you will be taken to your space - where your project lives.
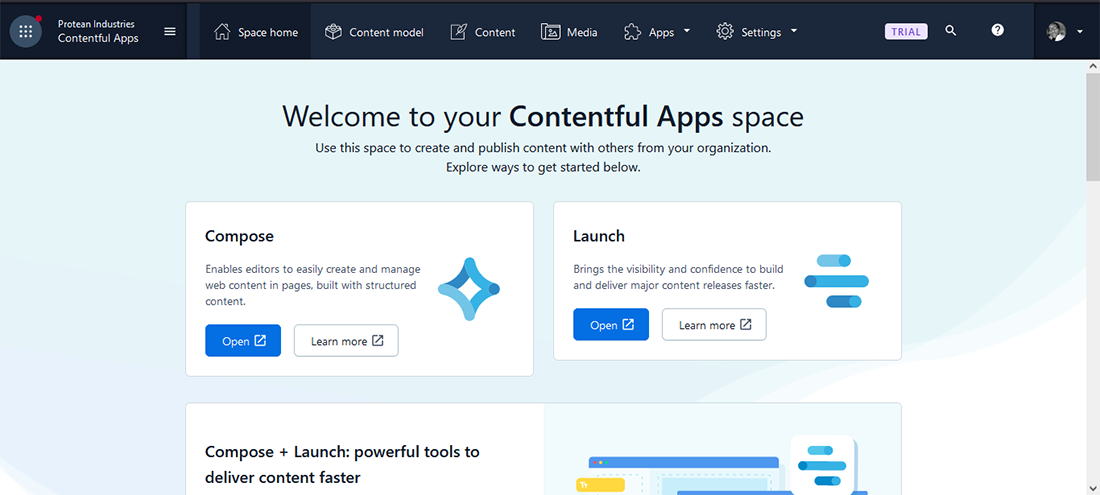
When you first create your account you are given an opportunity to try out their app platform for 60 days.
Create Content Models
Select Content Model on the top bar then select Add content type.
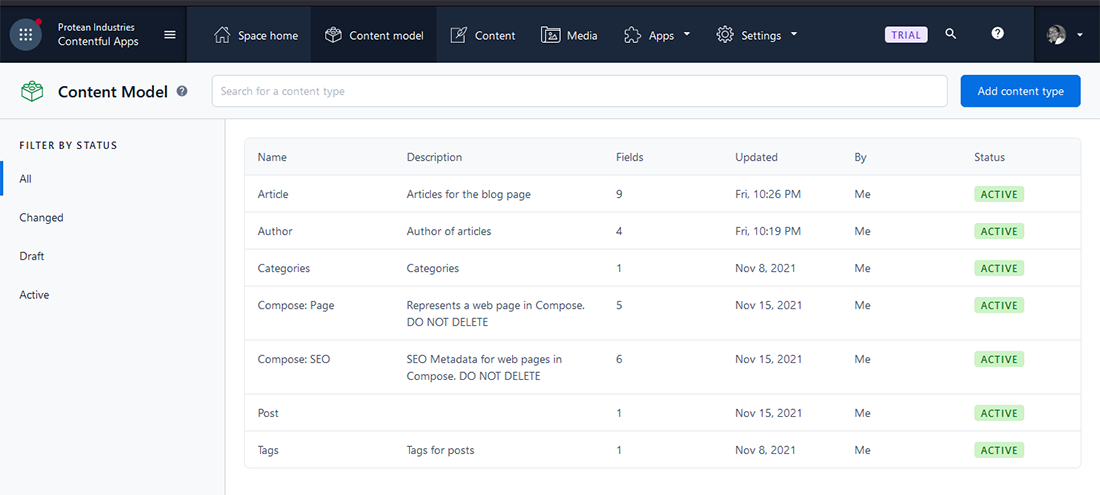
We'll make a Post and Author model.
Author
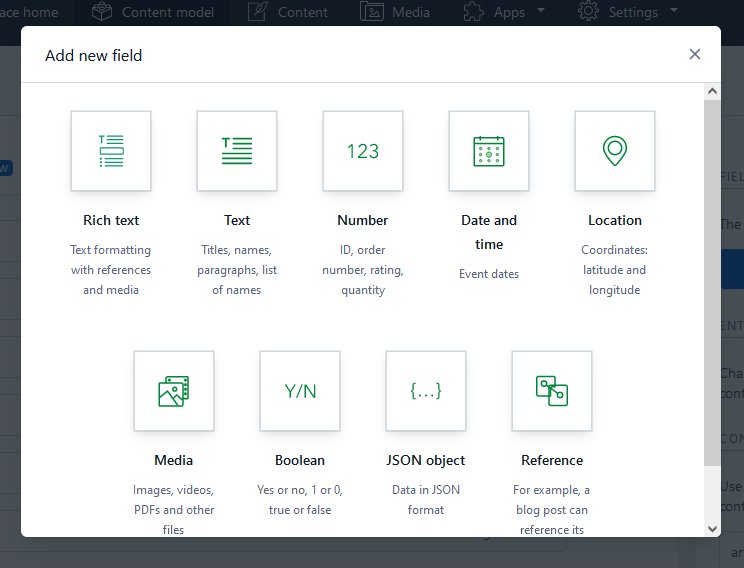
We will add fields to the type.
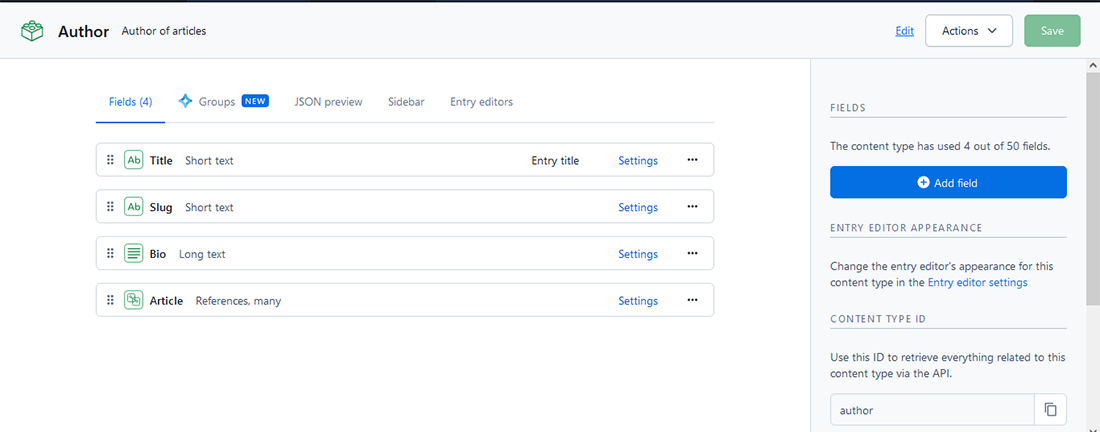
You have several settings you can set for each field.

Post
We will add fields to this model also.
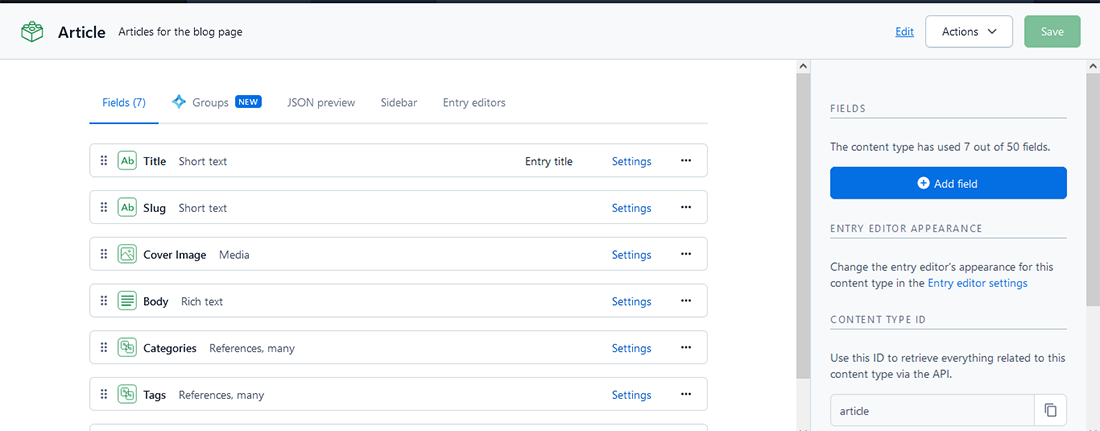
In addition, we will add a reference to the Author model.
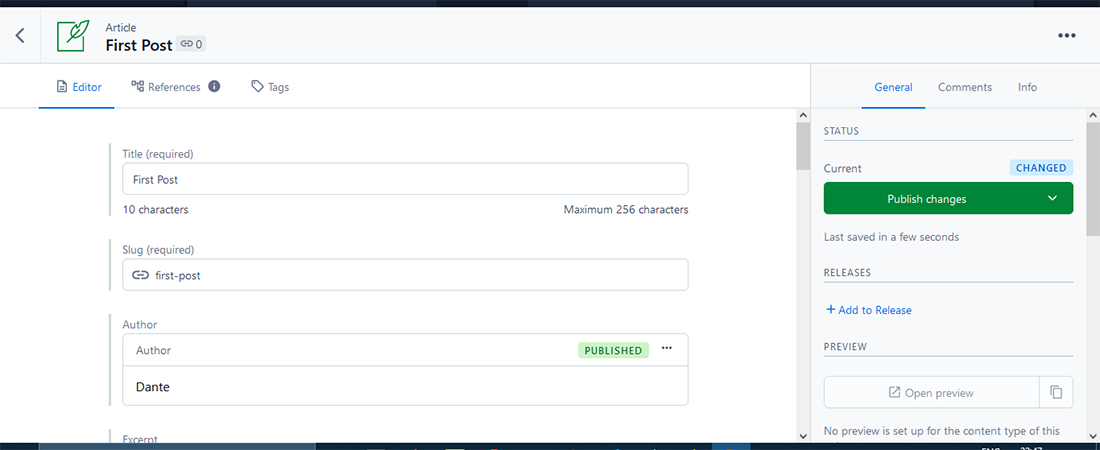
Create Author and Posts
Now select the Content option in the top bar. Create an author and a couple of posts.
Generate API key
We then need a way to communicate with our space. Select Settings in the top bar, then API keys.
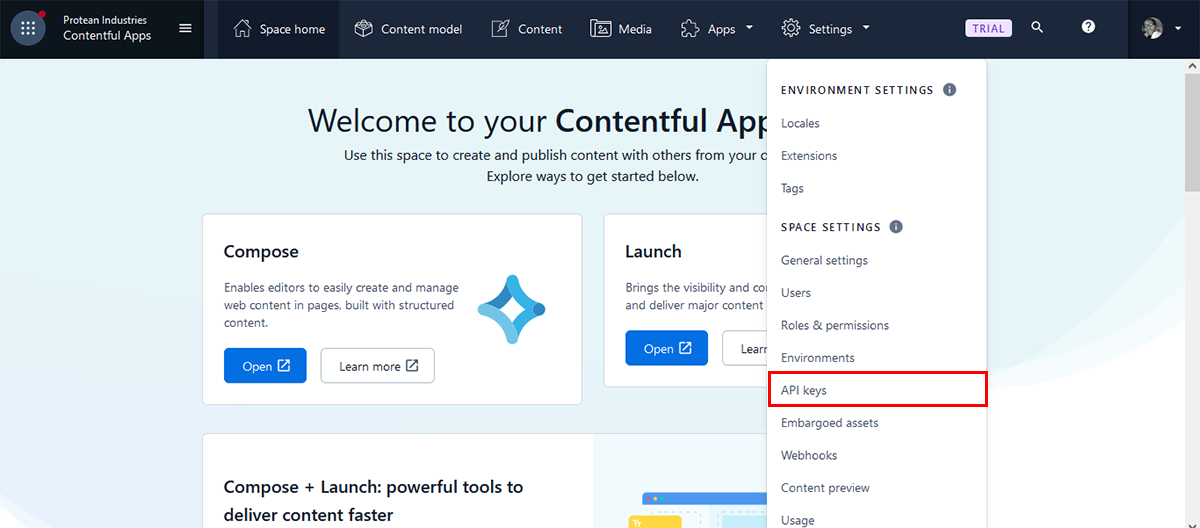
Then choose Add API key. Name your key and save it. Copy these two things and save them somewhere, we'll need them later:
- Space ID
- Content Delivery API - access token
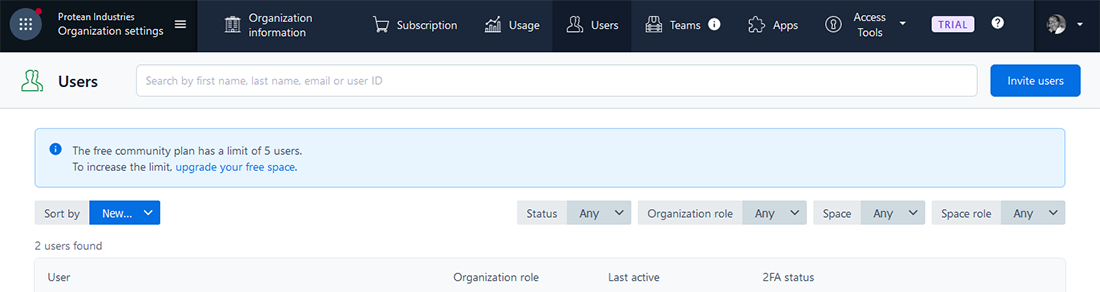
Invite Members
To collaborate on Contentful, you have to invite members to your space. Select your organisation name then Organization settings and subscriptions.
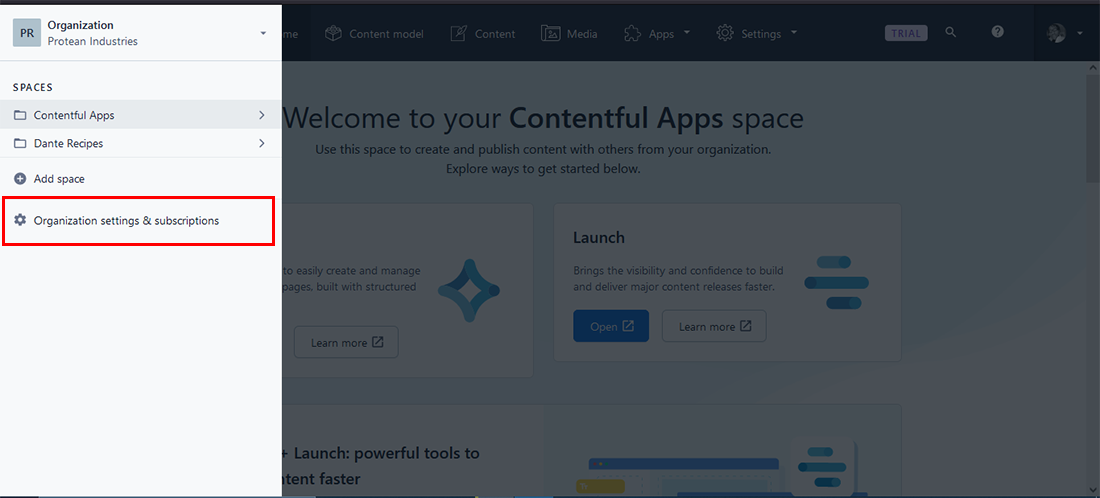
Select Users in the top bar and then Invite users.
Features
Within Contentful, you have a choice of several Apps you can add to your space to enable extra functionality. You can find these by selecting Apps in the top bar.
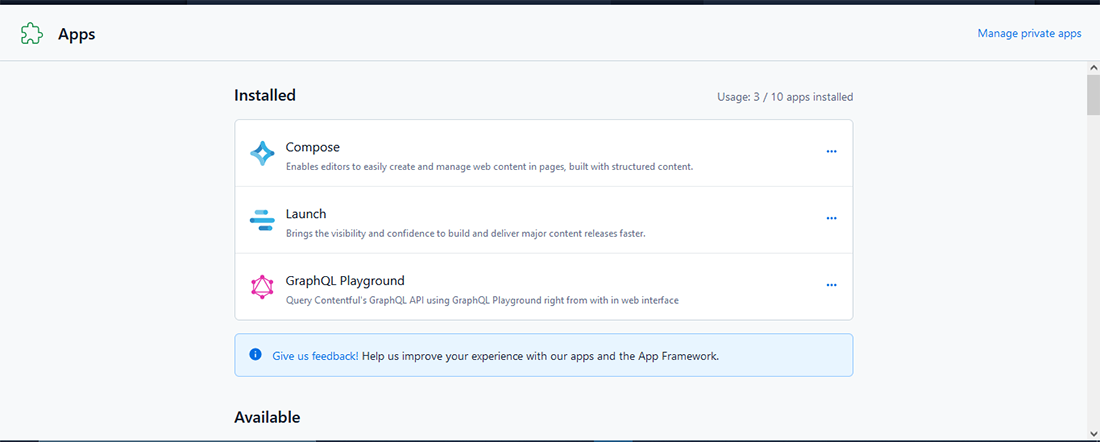
For example:
Compose: Which enables the easy creation and management of content.
Launch: Which brings confidence and speed in content delivery.
Plans
Your Contentful plan is to do with how many spaces you can have and the features in said space. Basically, they are divided into Community, Teams and Enterprise.
Here is a link to their pricing page.
With Contentful all setup, we can move on to our Next app.
Setup Next
Just like last time we need my starter. Clone it:
git clone https://github.com/Psypher1/next-cms-starter.git
Navigate into it and install the dependencies:
cd next-cms-starter

npm install
Install Dependencies
We will need two packages for this build:
To communicate with Contentful
npm install contentful
To render rich text
npm install @contentful/rich-text-react-renderer
This time I'll be following some best practices
Create env files
In the root of the Next project, make a file called .env.local, we will place the API key and token we generated in it:
/* .env.local */
CONTENTFUL_SPACE_ID=
CONTENTFUL_ACCESS_TOKEN=
Make a folder called utils or lib. Create a file called contentfulClient.js and place this in it:
/* contentfulClient.js */

import { createClient } from "contentful";

const client = createClient({
    space: process.env.CONTENTFUL_SPACE_ID,
    accessToken: process.env.CONTENTFUL_ACCESS_TOKEN,
});

export default client;
Now we can move on to pulling our data.
Load Post List on Blog Home Page
Navigate to the blog folder and into the index.js file. Place this in it:
/* ..src/pages/blog/index.js */

import client from "../utils/contentfulClient";

/* make async call to fetch posts from Contentful */

export async function getStaticProps() {
    const res = await client.getEntries({ content_type: "post" });
    const data = await res.items;

    return {
        props: {
            posts: data,
        },
    };
}
Here is an example of the structure of the data we pull from contentful:
The structure makes GraphQL a better option for querying the data
Now we load the data onto the page:
export default function Blog({posts}){

    return {
        <div>
            {posts && posts.map(post =>(
                <div key={post.sys.id}>
                    <Link href={`/blog/${post.fields.slug}`}>
                        <a>{post.fields.title}</a>
                    </LInk>
                    <img src={post.fields.thumbnail.fields.file.url}>
                </div>
            ))}
        </div>
    }
I intentionally chose to pull the data this way to illustrate potential errors you can encounter due to the way the data from contentful is structured. There is a lot of chaining with this method.
NOTE: If you choose to use the Nextjs inbuilt Image Component - which I highly suggest you do - you will encounter an error about the source needing to be an absolute URL. In that case, just prefix the src with https: in template literals.
Instead of:
src={post.fields.thumbnail.fields.file.url}`
do
src={`https:${recipe.fields.thumbnail.fields.file.url}`}
NOTE: When you use the Image component you will need to tell Next about the URL you are getting the images from.
In the root of your project, make a file called next.config.js and add this to it:
/* next.config.js */
module.exports = {
  images: {
    domains: ["images.ctfassets.net"],
  },
};
Load Individual Posts
Now we can move on to the slug page. Navigate to [slug].js and add the following to it:
We start by generating the paths:
/* ..src/pages/blog/[slug].js */

import client from "../../utils/contentfulClient";

import { documentToReactComponents } from "@contentful/rich-text-react-renderer";

export async function getStaticPaths() {
    const res = await client.getEntries({
        content_type: "post",
     });

    const paths = res.items.map((item) => {
        return {
            params: { slug: item.fields.slug },
               };
     });


 return {
     paths,
    // if we go to path that does not exist, show 404 page
     fallback: false,
    };

}
Then retrieve the post with the matching slug:
export async function getStaticProps({ params }) {
    const slug = params.slug;

    const res = await client.getEntries({
        content_type: "post",
        "fields.slug": slug,
    });

    // this returns a list
    const data = await res.items;
    //we only want the first item in that list
    const post = data[0];

    return {
        props: {
            post,
        },
    };
}
Then we render the individual post to the page:
/* load post data onto page*/
export default function PostDetail({ post }) {
    /*destructure data for easier output*/
     const { coverImage, title, body, author} = post.fields;
    const image = coverImage.fields.file.url;

    return(
      <div>
        <h2>{title}</h2>
        <img src={`https:${image}`} alt={title} />

        // author info
         <div>
            <p>{author}</p>
        </div>
        // post body
         <hr />
        <div >
            {/* use the package to render post body*/}
            {documentToReactComponents(body)}
        </div>

        // useful links
        <hr />
        <br />
        <div className={styles.links}>
           <Link href="/blog">
                 <a className={styles.back}> {"<Back to Blog"}</a>
           </Link>
           <Link href="/">
             <a className={styles.back}> {"<Home"}</a>
          </Link>
       </div>
    </div>
    )
}
I destructured the data we pulled for two main reasons:
- To avoid the chaining we did on the index page
- To make the code a bit more readable.
Extra Info
in addition to the GraphQL Content API, Contentful also has an Images API. Both of which I will be looking into later.
Contentful also has a Developer Portal that you can use to learn more about the CMS.
My Advice for Working with Contentful
- Use GraphQL to fetch your data: As you have seen, when we fetch from contentful, the structure of the data is a bit hard to work with.
- Try if you can to get your images in the dimensions you want to use them.
Scoring
Are we ready for the verdict? How does Contentful fare?
1. Ease of Use
For me Contentful, for the most part, is simple to use. A few clicks here and there and my data was ready to be consumed.
For user The user really liked the interface more than they did Sanity. They enjoyed the experience more
2. How Well Data Can Be Queried
I believe I have mentioned querying data several times. Doing it straight from Contentful will lead to unnecessary chaining.
It is very helpful that they offer an alternative - in the form of GraphQL
3. Ease of integration with Next
Another happy instance for me again. It wasn't complicated at all, just make get your access token loaded and you're off to the races.
4. Time Taken To Production
The moment you publish your content it is already live and ready to be fetched. All that remains is your frontend - pushing to Github and deploying to Vercel or Netlify
5. Support/Community
They have a Slack. But after the resounding support I received from the Sanity Slack, it leaves a lot to be desired.
There is a bot on their site - I don't like these kind of bots. it kept pressing me for a work email - leading me to the assumption that Contentful doesn't cater to individuals that well.
6. Ease of Deployment
No deployment is necessary, it's all live when you hit publish.
Conclusion
Contentful was interesting to work with. Simple and user friendly. A better job could be done in terms of support though.
If you followed along - Thank You - and came across any issues, please feel free to ask me. I will do my best to help you.
Thank you for reading, let's connect!
Thank you for visiting this little corner of mine. Let's connect on Twitter and LinkedIn


