T3MP Session Six: User Access
Let's restrict some things and allow others
Who sees what, when and for how long? This was the focus of this session - access. Access for frontend and backend users.
Session 06
This session focused on user access and permissions. How you set what visitors to your site see, when and for how long.
In addition, what users working on your site are allowed to do.
User Access
User Access, put simply, is what you allow the various users on your site to see or do.
The type of access can be divided into two main groups:
- Frontend Access
- Backend Access
Frontend Access
If you recall when we looked at page properties, there was an Access property.
This falls under frontend access because it determines what is visible on the front face of your site. Thereby meaning that Frontend Access is what visitors to your site are allowed to see.
For example:
On a language tutoring site with users creating accounts. While your site may have all the courses offered, you would limit each user to seeing only content relevant to what they signed up for.
That would aid the user in focusing on only what is relevant to them.
A frontend user would see a login option and once logged in, see content relevant to them
To create a frontend user, within the List Module, select the Frontend User folder and proceed to make the new user.
Backend Access
At the beginning of the sessions, we went over TYPO3 backend and I mentioned that to access it, you need a backend account.
In order for you to access the backend, you need a backend account. These accounts are managed by an administrator. They decide what a user can and cannot do - their tasks and roles.
This is where backend access comes in.
The views of the backend I have been sharing so far are for an Administrator. The Admin has access to everything.
Depending on how many people you have working on your site, they will most likely have different levels of access and permissions.
For example:
Someone whose job is to add copy to the site does not need to see every single module. They should only be concerned with the Page module - allowed to only see that module.
Backend Access and permission make that to be possible.
Backend Permissions
Based on what role they play, each backend user has a list of permission that determine what they can see and do.
To best illustrate, we'll make a new backend user.
There are two ways you can create a new user:
- List Module
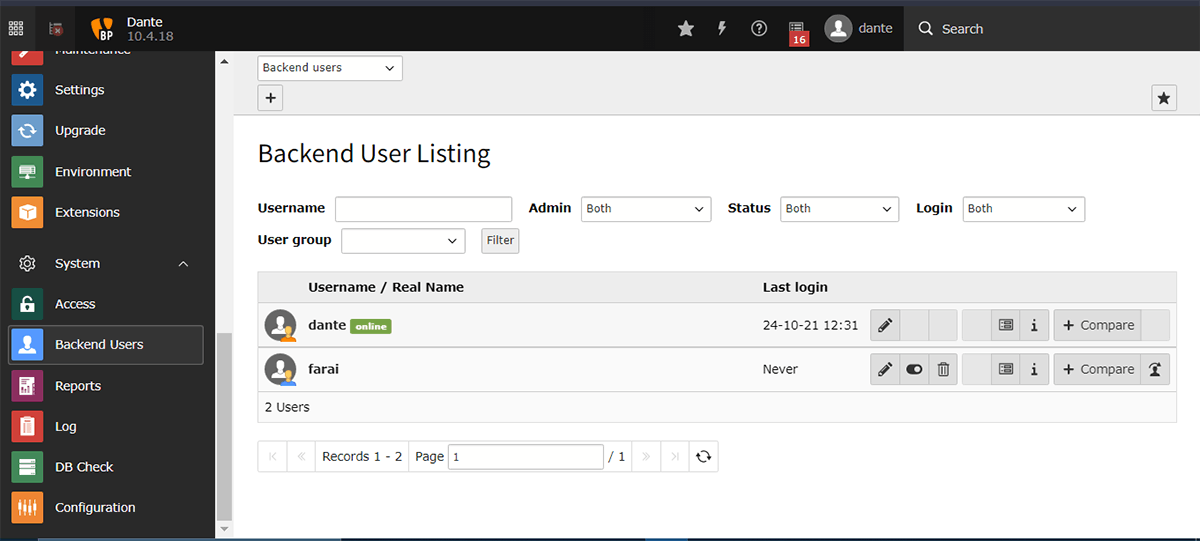
- Backend User Module
We'll use the Backend User Module
Click the '+' icon to start. Then set the username and password. I'll briefly explain each of these tabs:
- General: Where general information about the user is stet.
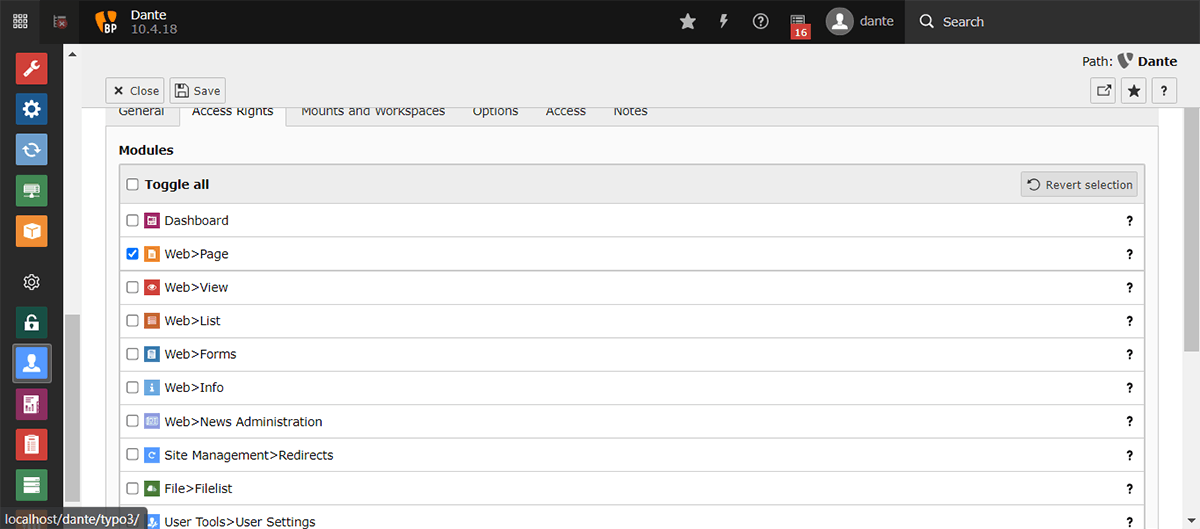
- Access Rights: Where you specify what items of the backend the user is allowed to interact with.
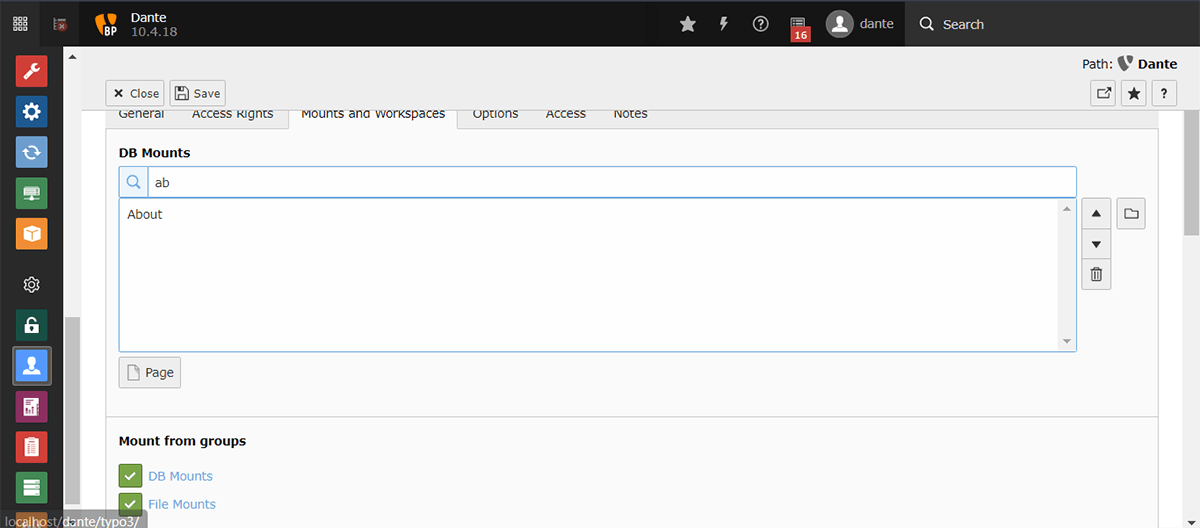
- Mounts and Workspaces: Where you set which specific items - Pages, Folders - the user has access to ie. a specific page
- Options: If you had any additional options for the user, they would go here.
- Access: If you wanted to give the user access for a specific period of time, that would go here.
- Notes: Notes you may have for the user.
Now, switch to the Access Rights tab. In here, you select which modules you want this user to be able to view. We'll only allow the Pages module.
Lastly, switch to the Mounts and Workspaces tab. Here you have to select the items you want to give them access to. We'll only allow the About page
You can preview your user with the little person icon at the end of their row
NOTE: When you create a new user, don'f forget to set the DB mount otherwise they won't be able to do anything.
Groups
As we have just seen, it takes a bit of time to set permissions for a user. Now, imagine having to go through for every user - we would be here all day
With that in mind, it is advisable to create backend user groups and assign new users to the group that most applies to them.
We will now make a backend user group and assign it to the user we just made.
Change the drop at the top from Backend users to Backend user groups
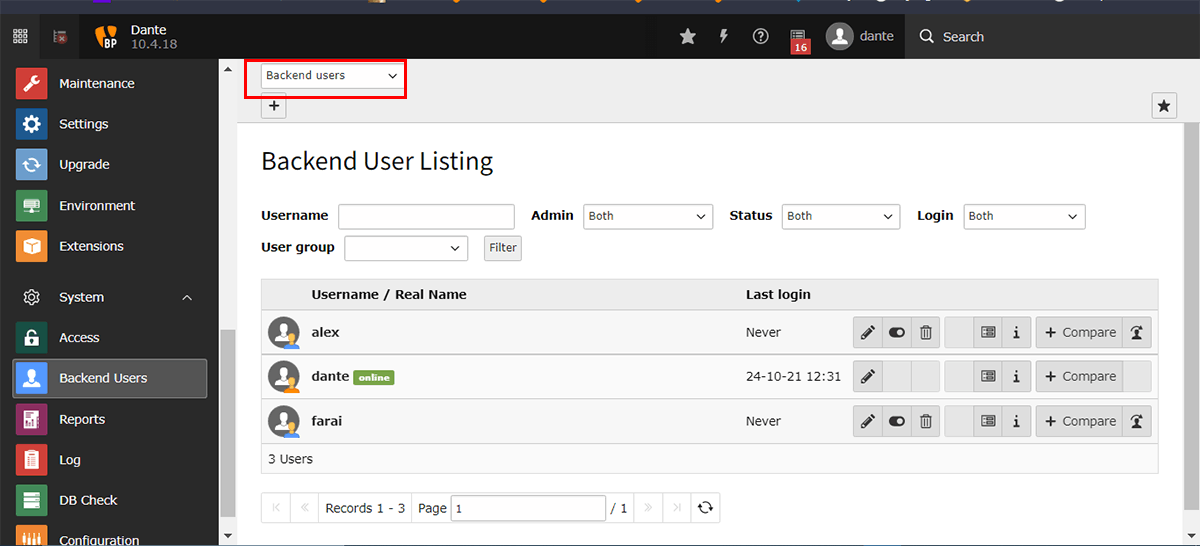
There are already some groups created, but we want our own.
Click the '+' icon to create a new group
As you can see, most of the options here are almost similar to when we made a user.
When we select the Access List tab, we a bit more options than we did before. The options are:
- Modules: Which module you want users of this group to see
- Tables (listing): Which tables they can see
- Tables (modify): Which tables they can modify
- Page types: The type of pages they can set
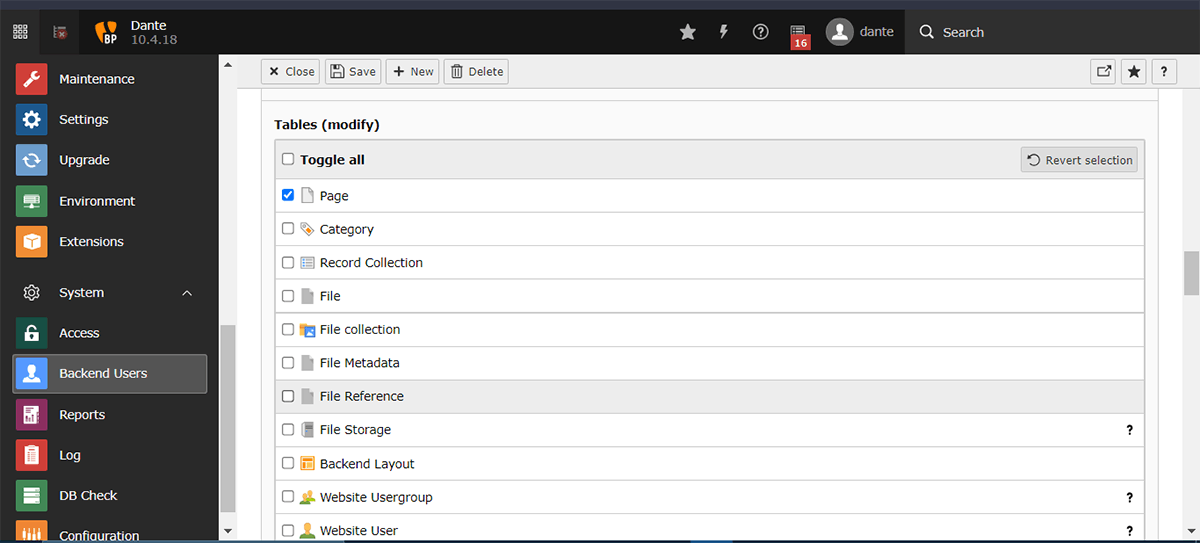
So for our new group, we want to allow everything that relates to the Page module.
Like before, we have to set the mounts for the group as well.
Add group to user
Now switch back to Backend users and edit the user we made
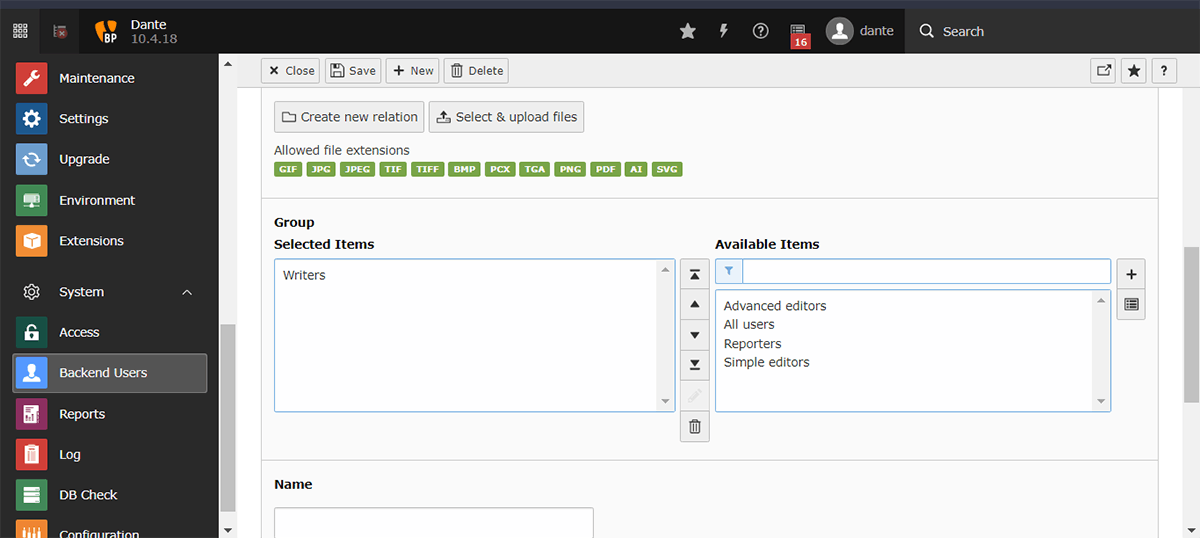
Scroll down until you reach the Group section, select the user group we made and save
Check-In
That was a lot to do, right? But you only need to create your groups once and add them to users accordingly.
But be mindful of what you name your groups. It is advisable to have some naming system such that they are easier to locate
Homework
The task for this session was to create a user group that only has access to the news module and editing of said news.
Creating the group and adding it user was simple enough. The issue I came across is this Page Tree error when switching to the new user.
Thoughts
There is quite a bunch you can do by leveraging user creation of TYPO3. I would explore more if not for that error.
Thank you for reading, let's connect!
Thank you for visiting this little corner of mine. Let's connect on Twitter and LinkedIn

